How To Make An Easy 3D Paper Unicorn Bauble
Difficulty Level: 
Everyone loves a bit of magic in their life and what better way to do this than by making a unicorn?
So, if you have a unicorn lover in your midst, they’re sure to love this simple unicorn paper craft idea! Whilst there are several steps involved, it’s not too difficult and is sure to create delight once the process is complete. It will be hard to stop at just one!
Ready to make magic happen? Let’s start crafting…
How to Make A Paper Unicorn
Materials Needed
- Itsy Unicorn© 3D Paper Unicorn Bauble template (download here)
- Some coloured paper scraps (or use pens to decorate some white paper)
- Some gold paper (optional)
- 12” / 30cm string
- Glue stick
- Scissors
- Marker pens for decorating
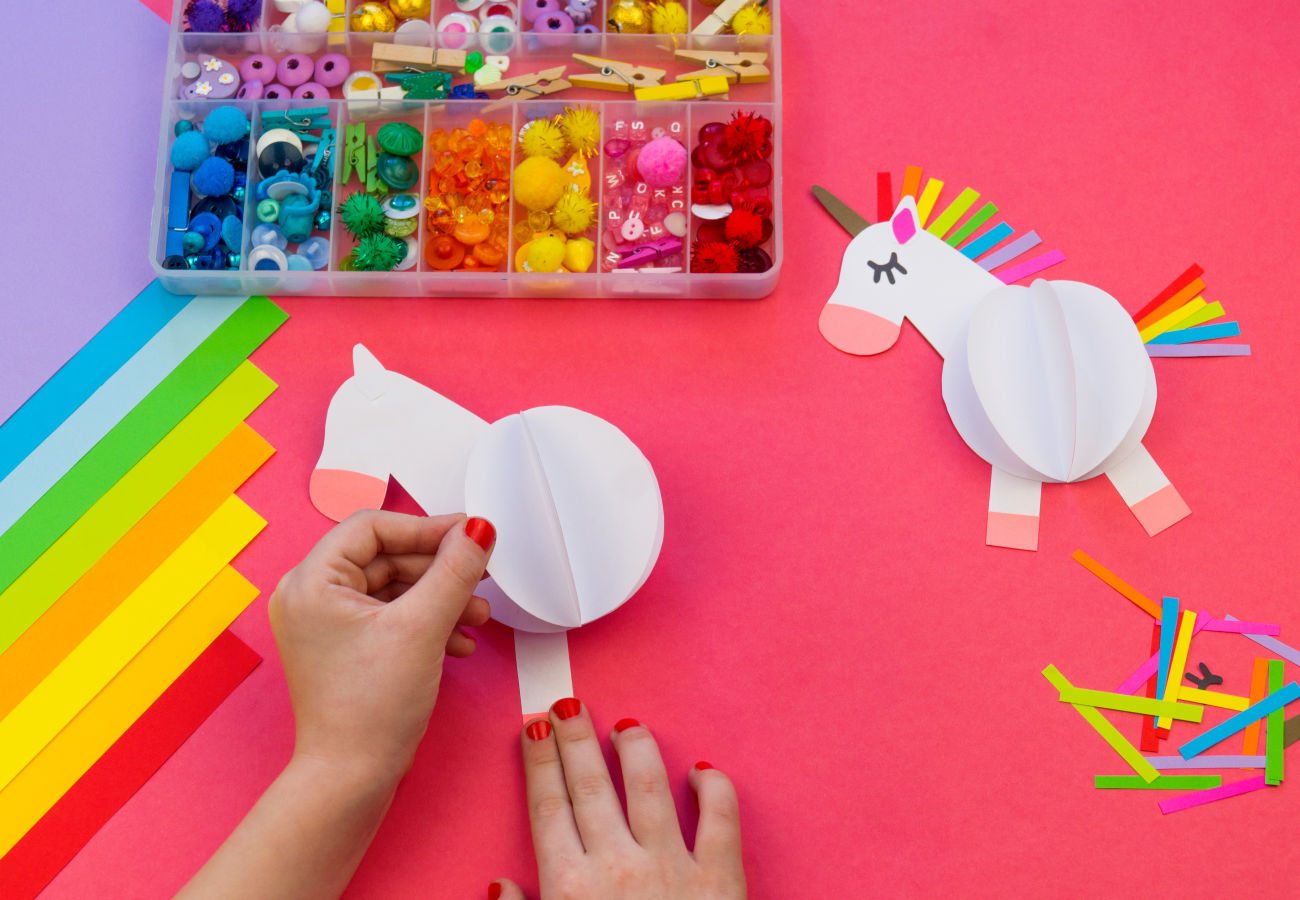
Step 1 – Make the unicorn head
1. Cut the unicorn head templates and horn.
2. Decorate the details of the head using marker pens – the ear, eyes and nose. Complete this for BOTH head templates
3. Colour the horn or use the template to create a coloured paper version.
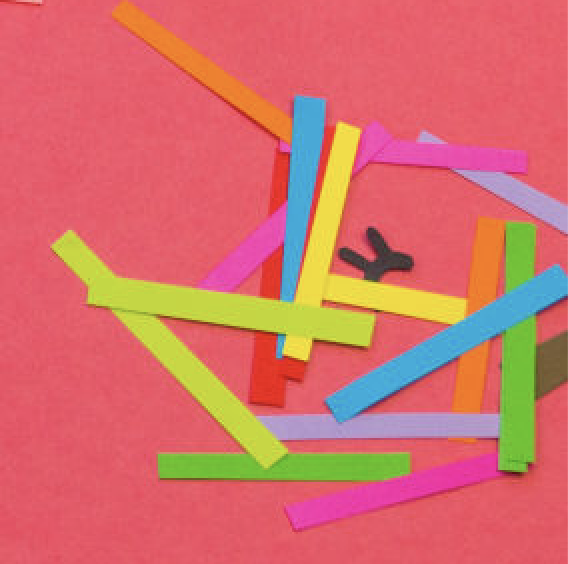
4. The mane will be made from rainbow paper strips that are about 2mm wide and approximately 3-4 cm long – choose whatever colours you like. We have used red, orange, yellow, green and blue.
5. Add a little glue to one of the back sides of your unicorn head.
6. Glue the coloured strips along the side of the neck to create the mane (leave about 5 strips for the tail).
TIP: Stick it as neatly to the edges as you can, as sometimes the line is visible through the white paper.
7. Glue the horn to the top of the head.
8. Glue your second head piece to the first one, so that your paper unicorn is pretty on both sides.
9. Add some extra main to the other side of the horn, so it matches both sides. Trim the mane if need be!
Step 2 – Make your Paper Unicorn “Bauble” Body
1. Cut the white circles from our template
2. Fold each of the circles in half.

3. Add glue to one half of the circle and lay a second circle on top.
4. Continue until all half circles are stuck together.
NOTE: Don’t stick the last halves together to form the bauble yet…

5. Cut the 4 x unicorn legs. Create the hooves by either colouring or sticking some coloured paper. Next, glue 2 leg templates together to form 1 leg. Repeat with the leftover legs.
6. Now cut a 12” / 30cm piece of string, fold it in half and tie a knot at the end.
7. Add LOTS of glue to the spine of the bauble, as well as one side of the bauble.
8. Glue your unicorn tail pieces on the paper to create a “pointing up” tail.
9. Trim the mane and tail with scissors, so that the ends are even.

10. Glue the legs to the bottom, with one leg pointing slightly forward and one leg pointing slightly backwards.
11. Place your strong on the centre of the spine, with the knot slightly outside the bottom of the bauble.
12. Finally, place the head between the first and last half-circles together, then glue together
You should now have a paper bauble, with a rainbow tail and hanging from string!
Share Your Unicorn Paper Plate Craft & WIN
If you or your child has made one of these gorgeous 3D paper unicorn baubles, upload to Instagram, Pinterest or Facebook and tag @amitielane. Each month, we will randomly draw a winner to receive one of our products.
Download your 3D paper unicorn bauble template
You might also like this activity: How To Make A Paper Plate Unicorn